Getting started
TCast plays video, images, and audio to a screen, a stream, or both, on cue. This page walks through the parts of the window and gets a clip on air.
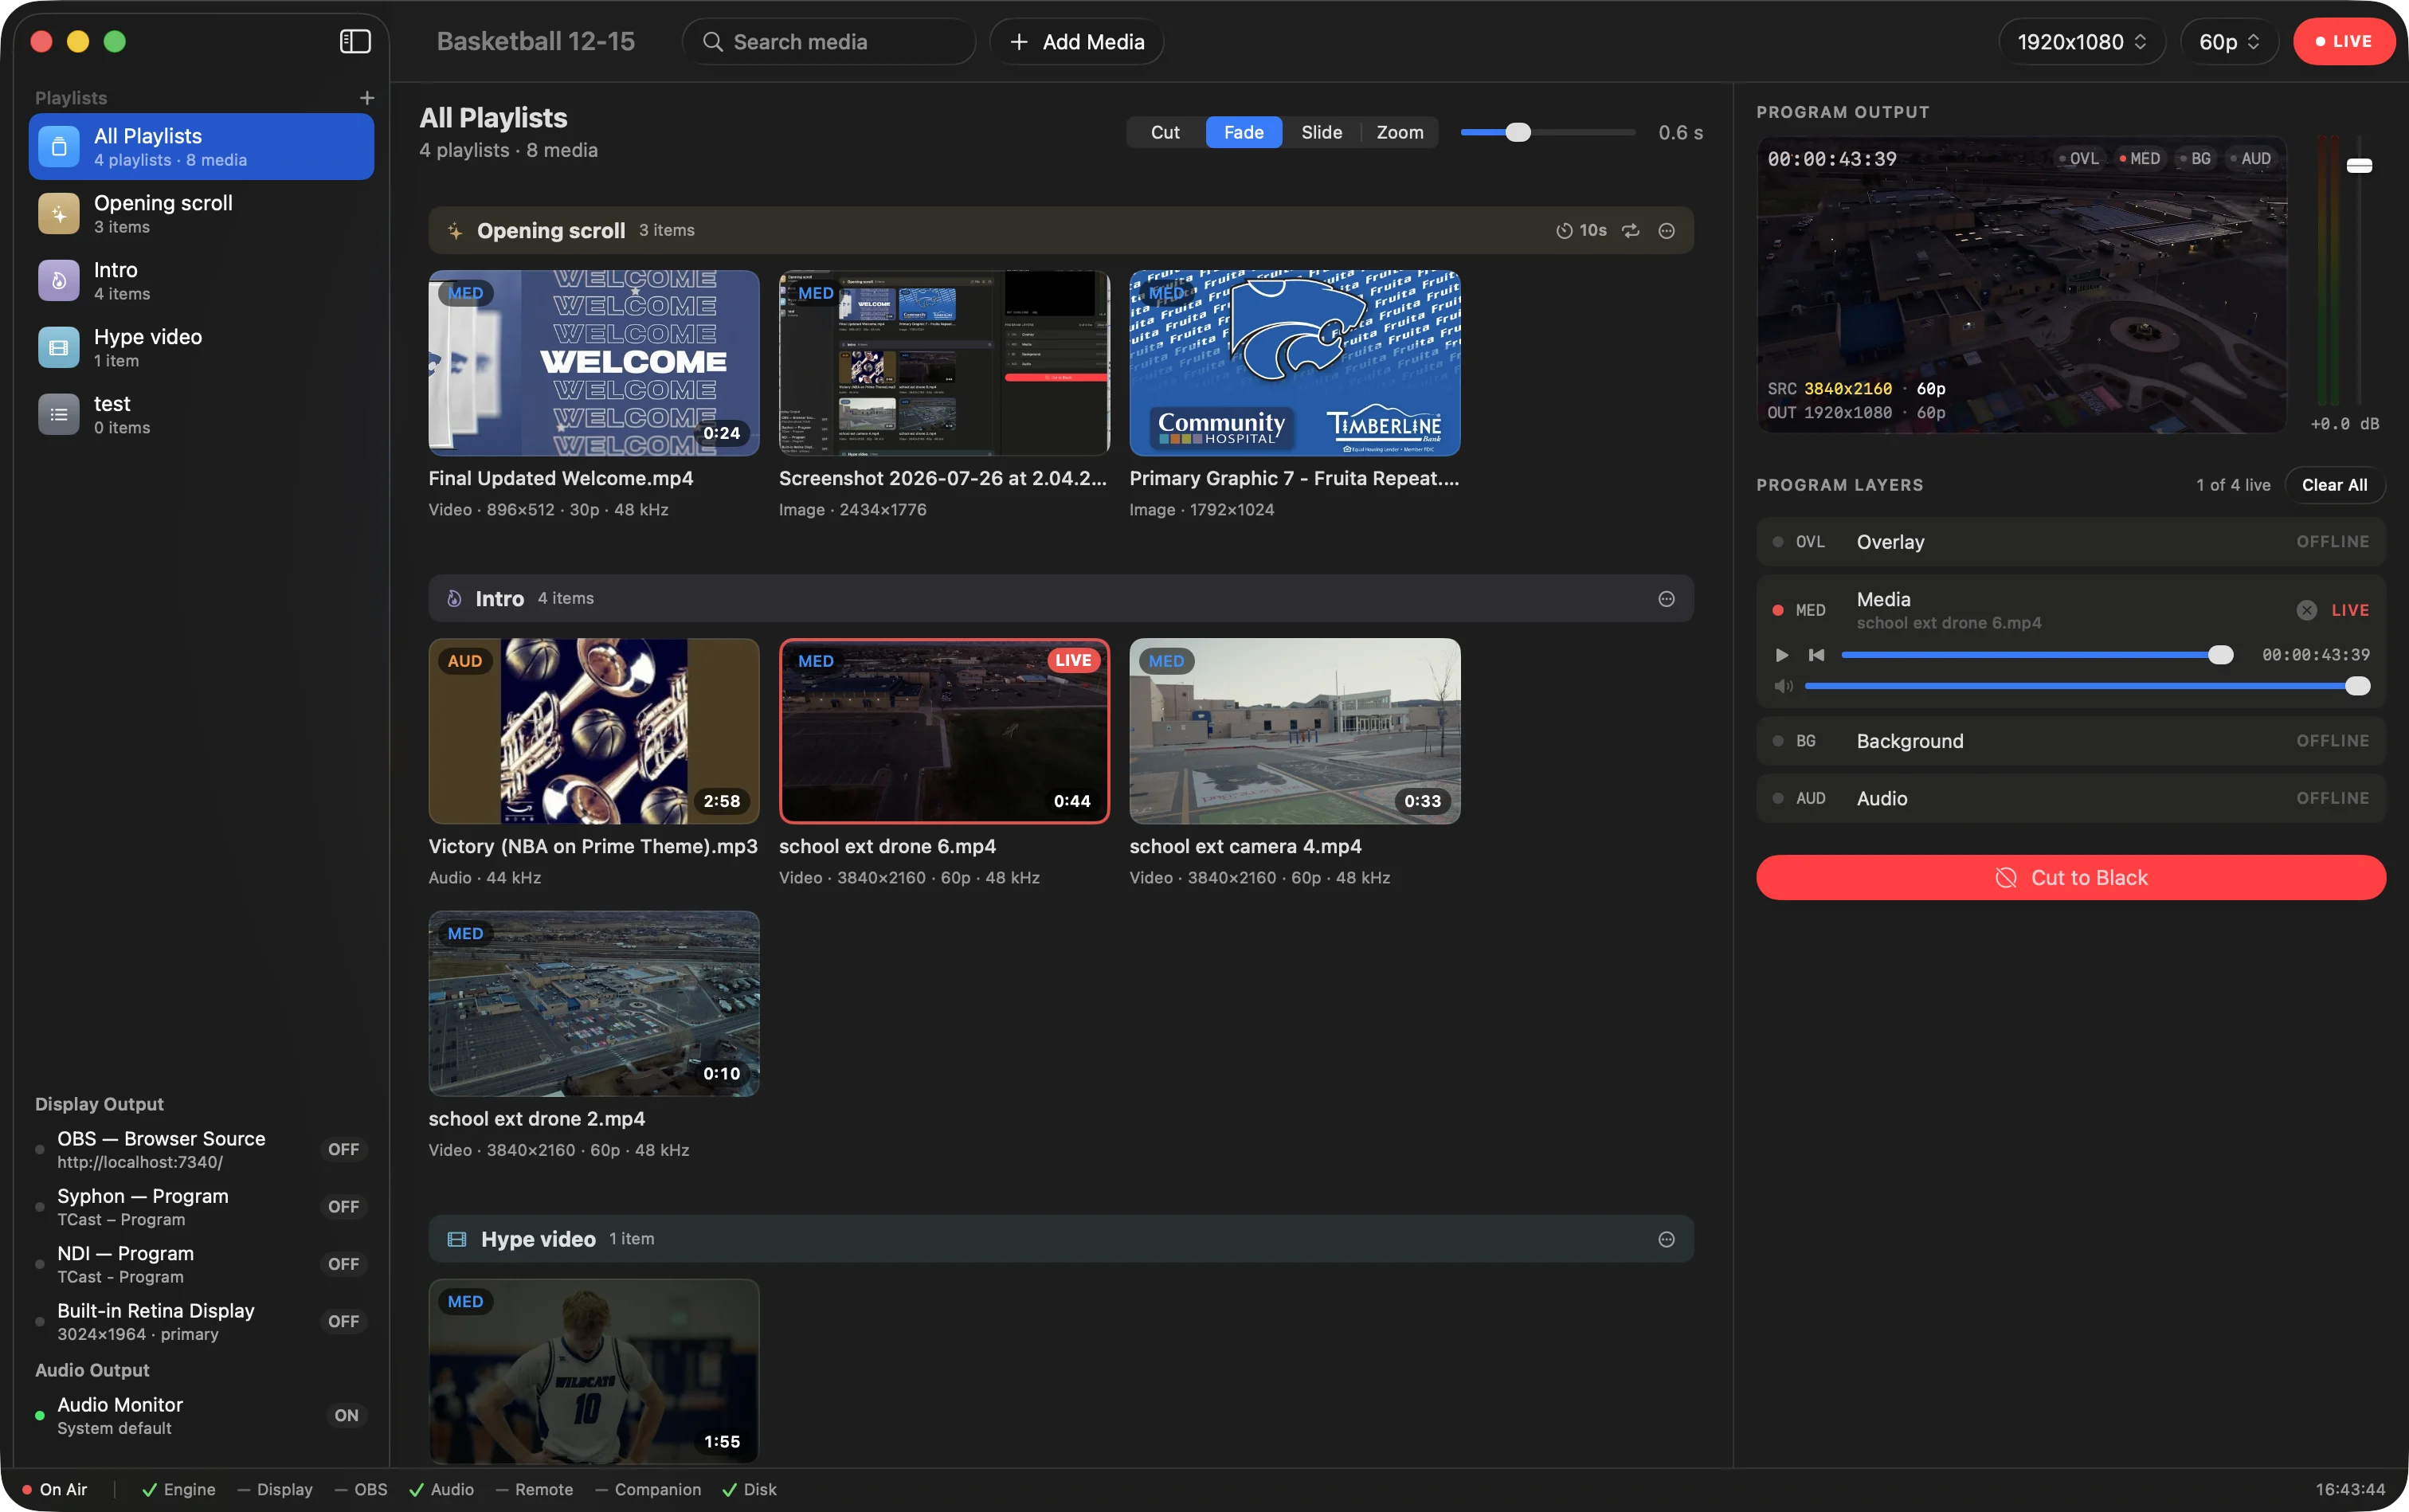
The window has three columns. The sidebar on the left holds your playlists and your outputs. The board in the middle holds your clips. The program panel on the right shows what's going out and lets you ride it.
Start a project
A project is one show: your clips, your playlists, and how they're set up. It saves as a .tcast file wherever you put it.
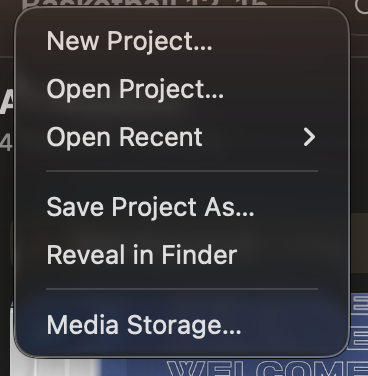
- File ▸ New Project… (⌘N) starts one.
- File ▸ Open Project… (⌘O), or File ▸ Open Recent for one you had open lately.
- File ▸ Save Project As… (⇧⌘S) puts a copy somewhere else.
There's no Save command, because TCast saves as you work. Projects are written atomically, so a crash mid-save leaves the previous version intact rather than a half-written file. Click the project name in the toolbar to switch projects or rename.
Add media
Any of these:
- Drag files onto the board.
- File ▸ Add Media… (⌘I).
- Send them from a phone or another computer. See Importing media.
Video, images, and audio all work. Drop a PDF and you get a playlist of slides instead — see Importing slides. Files stay where they are on disk; TCast references them. Move or rename one later and the clip goes OFFLINE with an orange badge until you relink it (see MED-01).
The free tier holds 15 items. See Licensing.
Take a clip live
Click a clip card and it goes on air. Click it again to take it off. The card shows a live badge while it's playing, and the program panel on the right shows the same picture your outputs are showing.
From the keyboard, 1 to 9 fire the first nine clips on the board. That's the fastest way to run a show, and it's what a Stream Deck button does too. Full list on the keyboard shortcuts page.
Playlists
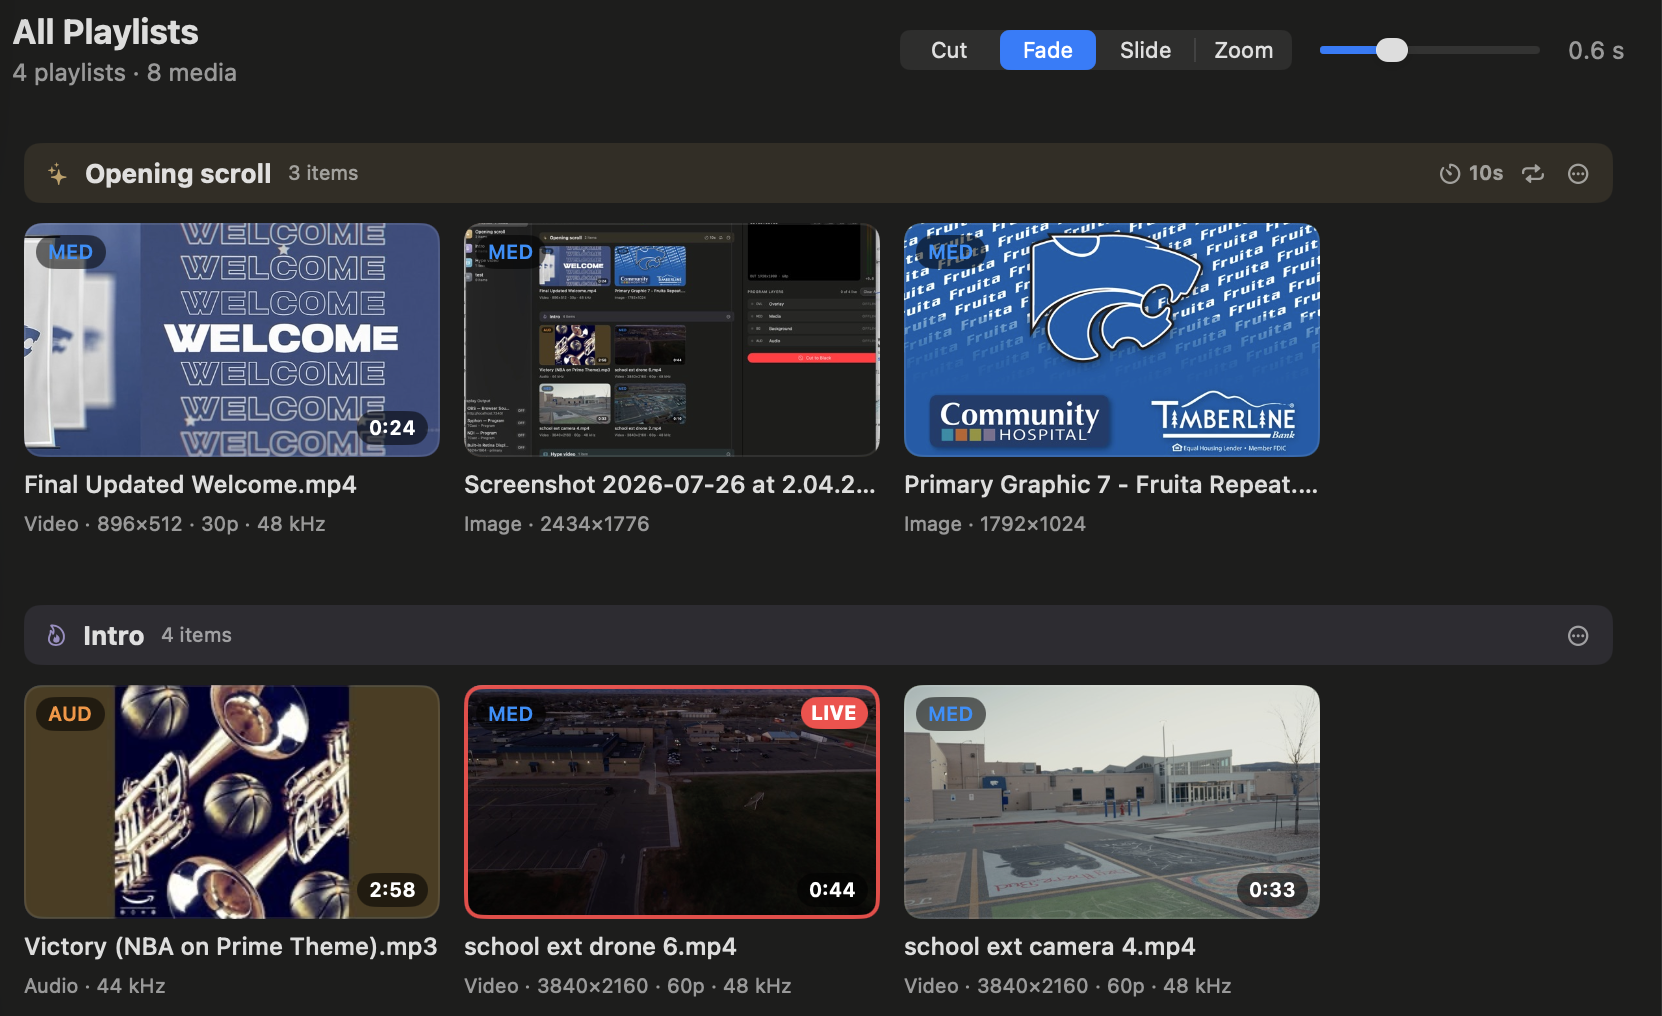
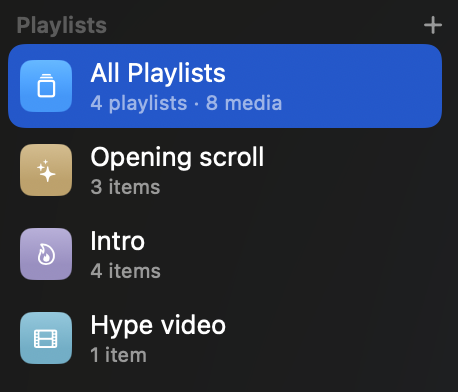
A playlist is a named group of clips, and it becomes its own section on the board. Anything not in one lands in Unsorted at the bottom.
- New Playlist… (⇧⌘N), or the + next to Playlists in the sidebar.
- Right-click a playlist in the sidebar for Edit Playlist…, Duplicate Playlist, Save Playlist to Library, Copy Playlist, Paste Playlist, and Delete Playlist. Select several first and you get Merge as well.
- Save Playlist to Library keeps a playlist for reuse in other projects. Copy and Paste (⌘C / ⌘V) also work straight across projects.
Drag clips between sections to move them, or drag to reorder within one. An insertion line shows where the clip will land.
Running a playlist on its own
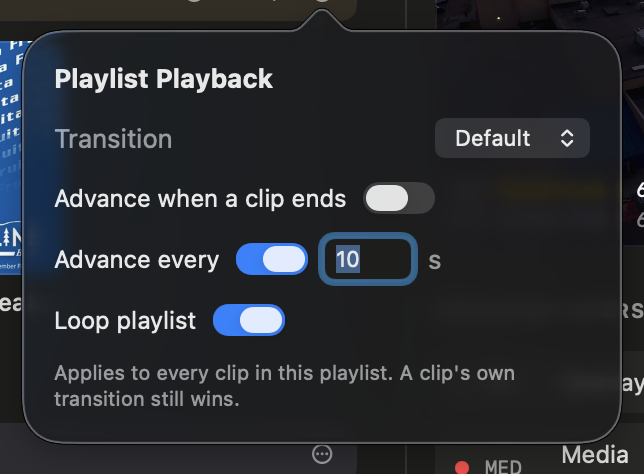
Open a playlist's Playlist Playback popover from its header on the board:
- Transition sets the transition for every clip in the playlist. A clip's own transition still wins.
- Advance when a clip ends moves to the next clip as each one finishes.
- Advance every _n_ s moves on at a fixed interval, which is what you want for a slideshow of stills.
- Loop playlist goes back to the top after the last clip.
Offline clips are skipped rather than stopping the run, so one missing file never takes down a show.
Per-clip settings
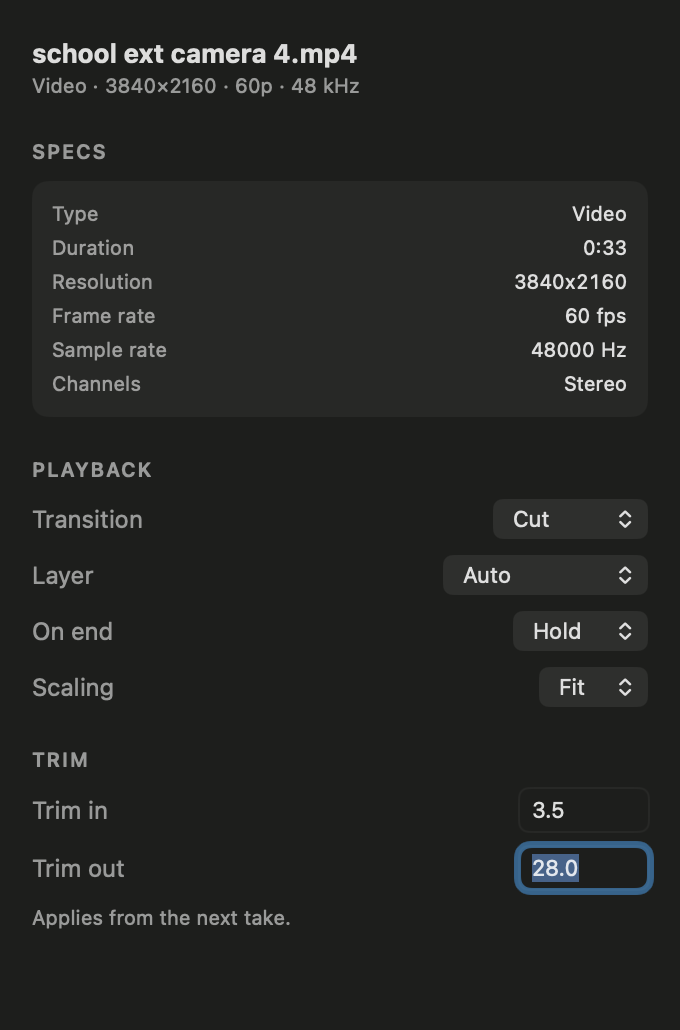
Right-click a clip for the settings that apply to it alone. The same controls are in the Properties window, which stays open while you work.
- Transition — Cut, Fade, Slide, or Zoom, or Default to follow the playlist.
- Layer — leave it on Auto unless you have a reason. See below.
- On end — Hold freezes on the last frame, Clear takes it off air, Loop runs it again.
- Scaling — how the picture fits the stage.
- Trim in and Trim out — play only part of the file, without re-exporting it. Trim lives in the Properties window and applies from the next take.
Select several clips first and the setting applies to all of them.
Other things on that menu: Duplicate, Add to Playlist, Reveal in Finder, Relink… for an offline clip, and Remove from Library.
Layers and the program
TCast composites four layers, bottom to top: background, media, overlay, and audio. A clip picks its own layer by type, which is what Auto means: video and images go to media, audio goes to audio. Override it when you want a video running as a background behind something else.
The program panel gives you, per layer, its own volume, a clear button, and transport. Above them:
- Clear All empties every layer.
- Cut to Black (B) drops the program to black and brings it back.
- The master fader rides everything, with meters next to it. M mutes.
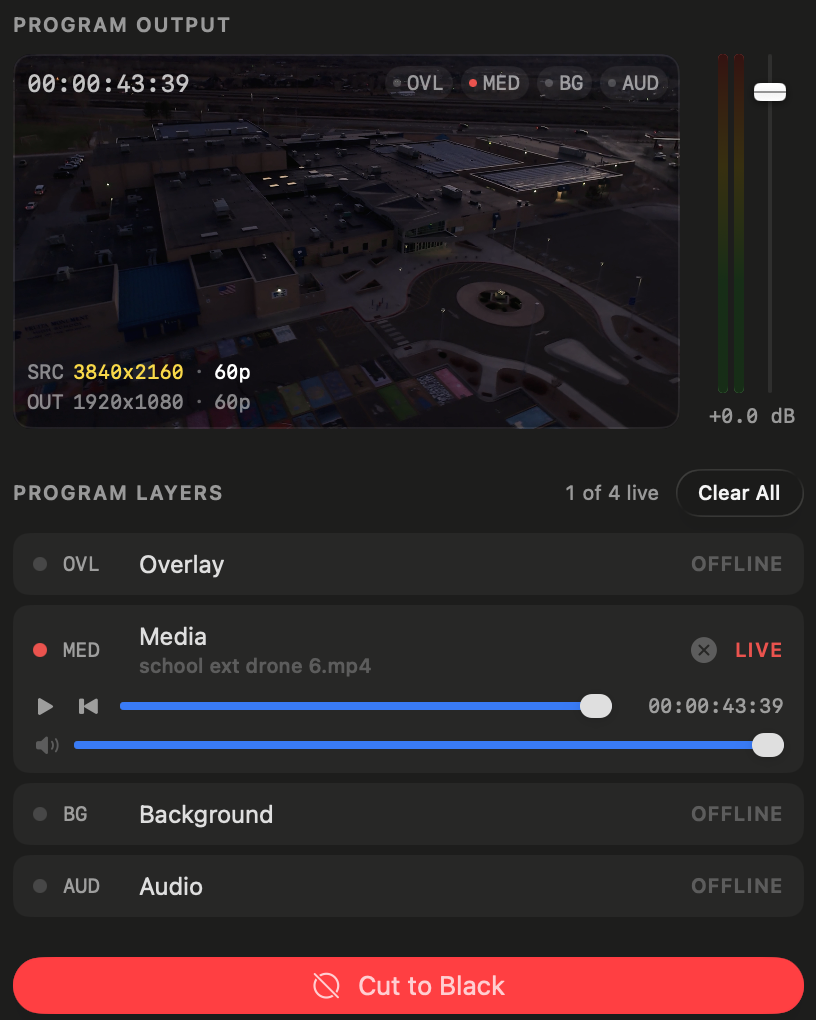
The stage resolution and frame rate live in Settings ▸ Output ▸ Stage, and there are pickers in the toolbar too. Everything downstream follows the stage, so set it to match wherever the program is going. 4K and custom sizes and rates are Pro.
Send your feed out of TCast
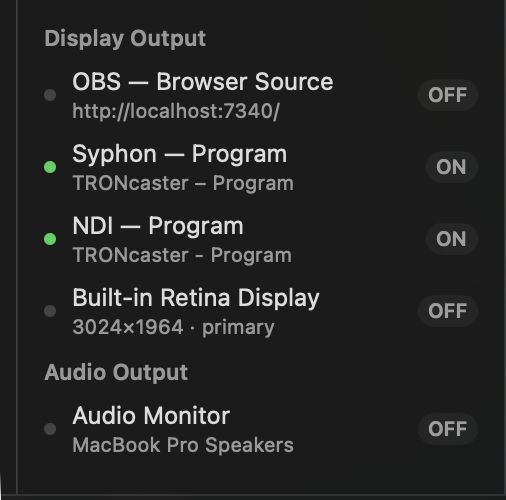
Pick an output:
- A physical display — a projector, stage monitor, or TV, full-screen.
- OBS Browser Source — video and audio into OBS with nothing to install.
- NDI — video and audio to another machine on the network. Pro.
- Syphon — lowest-latency video to another app on this Mac. Pro.
They're independent, so run as many at once as you like. The documentation index has a comparison if you're not sure which.
Next
- Keyboard shortcuts, which is worth ten minutes before a show.
- Control TCast from a Stream Deck.
- Importing media from a phone, a laptop, or anywhere.
- Error codes when something goes wrong.